PAGE 4. Roof shingles through Lanai Pour (19Mar2011 - 21April2011)
THESE PICTURES ARE IN REVERSE CHRONOLOGICAL ORDER....START FROM THE BOTTOM AND WORK YOUR WAY UP.
CLICK HERE TO START AT THE BOTTOM
LAST UPDATED: 08/28/2011
4/21/2011 The Lanai Pour (even though the calendar days are in reverse order on this page, I tried to keep each day in sequence)


---

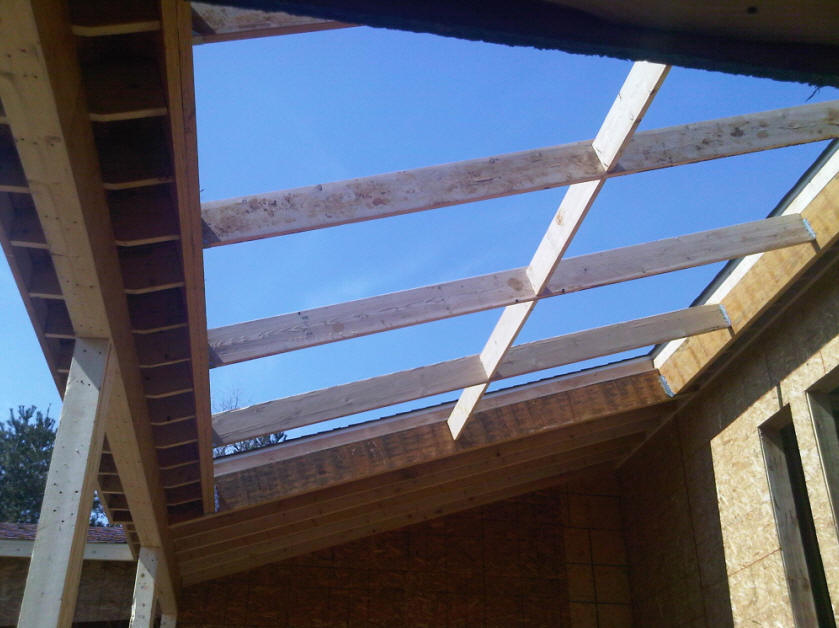
above and below: 17+ feet up from family room floor with no safety harness...not my kind of fun

below: the joist extensions that will eventually become the balcony over the family room

4/20/2011 Lanai prepped for the pour


4/18/2011 The Garage Ramp Pour (Garage pour postponed)


4/15/2011


below: footer plate for radius wall under stairs


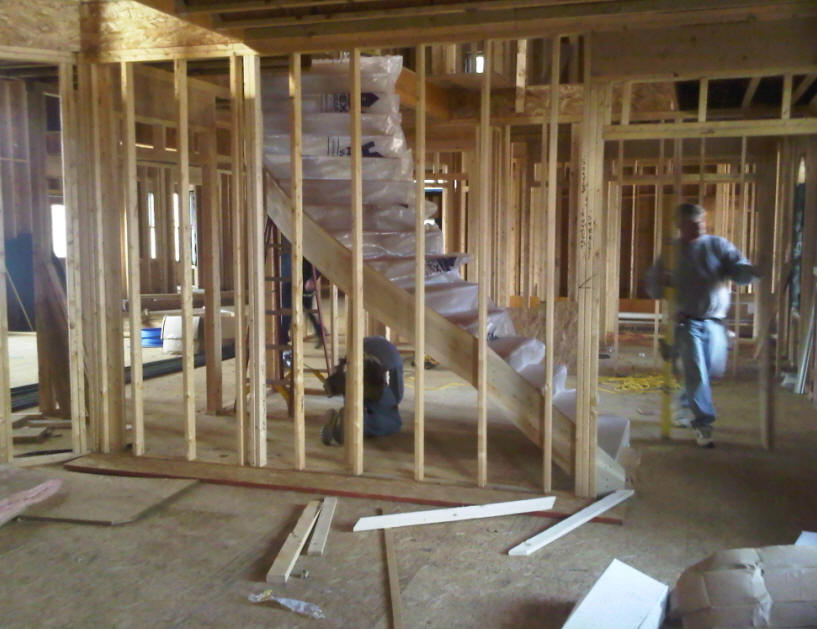
below: four sets of stairs ready for install

below: steps from kitchen to master bedroom


4/13/2011


4/12/2011 Windows day!!

wrong windows below...replacements on order (were to be picture windows and not double hung windows)


4/10/2011


4/8/2011
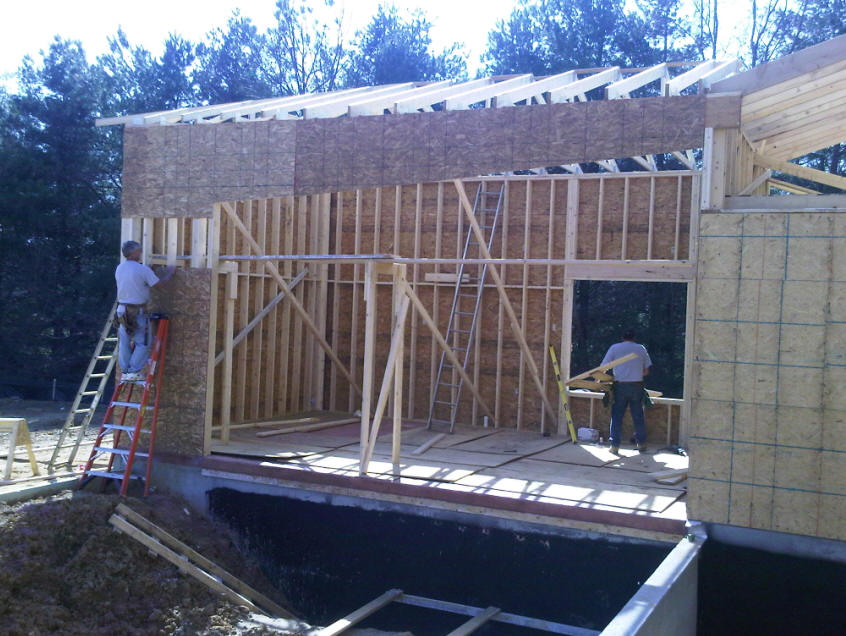
The faithful laborers from south of the border are working diligently in the pouring rain to put up the fascia and soffits while our hometown plumbers didn't show up to work (note that it isn't raining INSIDE the house that is under roof).

4/7/2011

4/6/2011

4/4/2011

lanai has been filled with dirt. pool has been filled so that it can be dug out again (had to be filled so that tractor could go over the pool foundation wall)


below: outdoor kitchen straight ahead, as viewed from standing in the pool with lanai to the right


below: the door to the kitchen from the lanai, as viewed from the pool area

below: house wrap begins. Dining room bay window in view.


above and below: some cold and hot water supply lines (pex)

3/30/2011

above and below: tubes that resemble empty paper-towel rolls, when filled with concrete, act as pilings when they sit on the firm ground and then are covered with fill dirt. they provide additional support for the concrete slab to be poured shortly, for the Lanai.

3/29/2011

As fast as the trucks can bring dirt, Mr Palmer is pushing it all in place. First the pool area had to be filled, so that the tractor could drive over the foundation wall with more dirt that filled the Lanai area. Once the Lanai area is filled, the concrete slab can go down, forming the Lanai.

above and below: Mr Palmer driving over the foundation wall


Below: The porthole window and the long skinny kitchen window that will be above the cabinets and the dining room bay window.


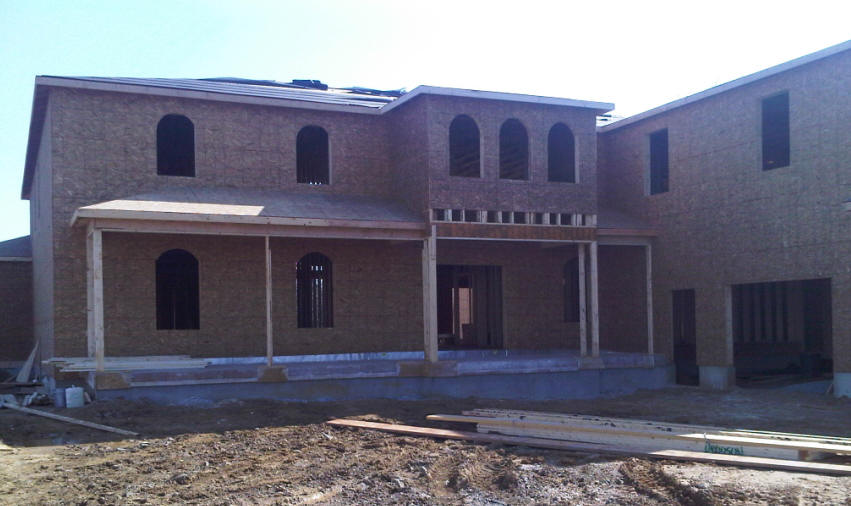
Above and below: The front porch.

Below: The steps and middle landing of the theater installed.


above: the dumbwaiter access in the master bedroom walk-in closet (his) and below: the dumbwaiter access from the garage.

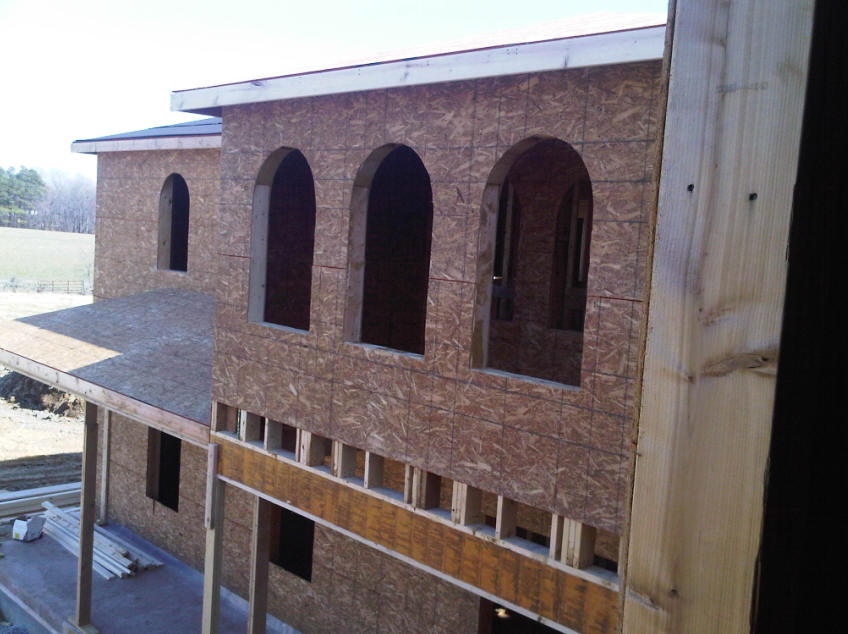
3/28/2011 arches on front elevation completed

3/26/2010 Roof almost completed

above: the skylight location, recessed below the roof line over the Lanai
below: View of outdoor kitchen from second floor window

Below: temporary frame of skylight rough opening


below: corner (right) location of pizza oven


above and below: ceiling view (where chimney of pizza oven is to penetrate roof) of outdoor kitchen

below: the swimming pool


3/25/2010 Working on the Lanai roof just in time for roofers to complete the roof


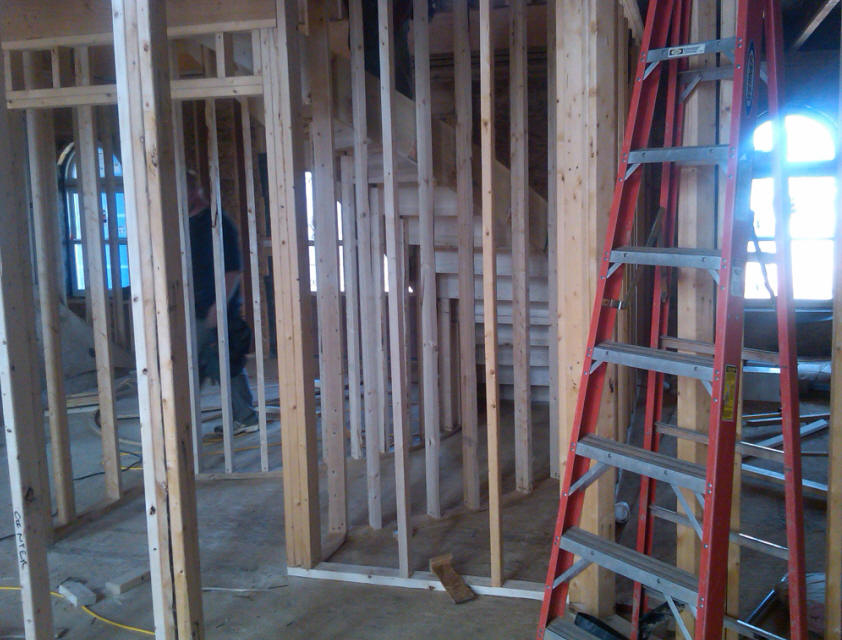
3/22/2011 Some interior framing

above and below: the Headboard and TV wall of the master bedroom (double tray ceiling above it)


below: half wall in master bathroom


3/19/2011 Front Porch framing almost complete, and back kitchen almost complete.